Imagine waking up to the perfect creamy cappuccino or a silky-smooth latte, right in your own kitchen. For coffee enthusiasts, achieving that coveted rich, velvety milk foam is key to elevating an ordinary drink into a café-quality experience. While advanced espresso machines and electric frothers offer convenience, the humble manual milk frother provides a unique blend of control, portability, and affordability, allowing you to master the art of frothing with your own hands. This guide will delve into everything you need to know about manual milk frothers, helping you unlock the secret to exquisite frothed milk for all your favorite beverages.
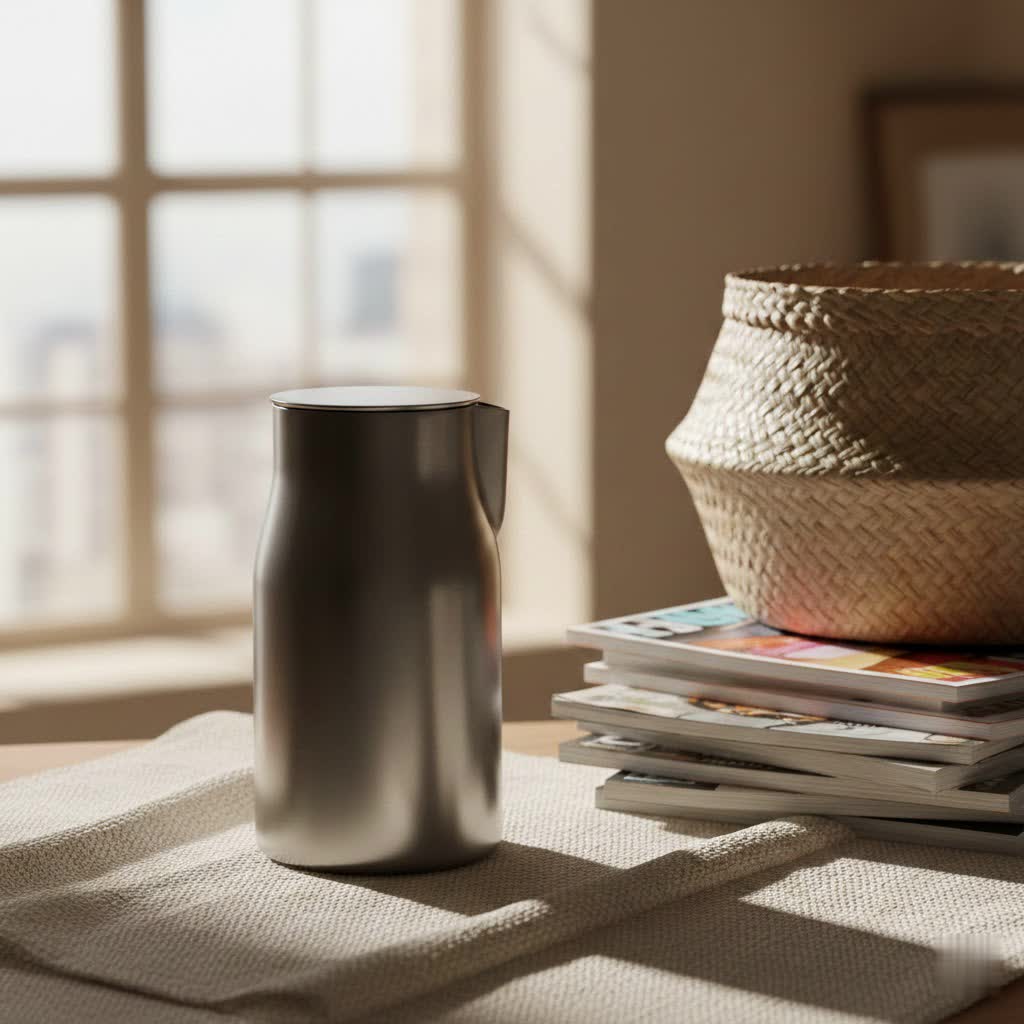
What is a Milk Frother? Why Do You Need One?
A milk frother is a kitchen tool designed to aerate milk, introducing tiny air bubbles to create a light, airy, or dense foam. This transformation improves the texture of beverages and enhances their overall flavor by blending milk smoothly with coffee or espresso. Beyond the aesthetic appeal, frothed milk adds a luxurious mouthfeel and often a touch of sweetness to your drink.
Using a milk frother at home offers numerous benefits. It allows you to recreate professional café-style drinks, boosting the quality and presentation of your daily brew. You can experiment with various milk types and foam textures, customizing your beverages to your exact preference. Furthermore, owning a milk frother can be a cost-effective alternative to frequent coffee shop visits, saving you money in the long run while allowing for creative exploration in your kitchen. Milk frothers are essential for classic coffeehouse favorites like cappuccinos, lattes, macchiatos, and even indulgent hot chocolates or frothy matcha.
Popular Types of Milk Frothers on the Market
The world of milk frothers offers a diverse range of options, each catering to different preferences and budgets. Understanding the distinctions between manual, electric, and automatic models will help you pinpoint the best fit for your lifestyle.
Manual Milk Frothers
Manual milk frothers are simple, non-electric devices that rely on physical effort to create foam. They typically consist of a pitcher and a plunger with a mesh screen or whisk. To use, you pump the plunger up and down, forcing air into the milk.
- Advantages: Manual frothers are generally more affordable than their electric counterparts, making them an excellent entry-point for beginners. They are highly portable and don’t require electricity, perfect for travel or camping. Many users appreciate the direct control they offer over the foam’s texture, allowing for customization from light froth to dense microfoam with practice. They are also easy to clean due to their simple design, often just needing a quick rinse.
- Disadvantages: Creating foam with a manual frother requires physical effort and can be slower than electric models. The foam consistency may not always be as fine or uniform as that produced by high-end electric frothers, especially for beginners. Most manual frothers do not heat the milk, meaning you’ll need to warm it separately before frothing for hot beverages.
- Best for: Individuals who are new to frothing, those on a budget, or users who prioritize portability and a hands-on approach to their coffee preparation. They are also ideal for occasional use.
|
Our Picks for the Best Milk Frother in 2026
As an Amazon Associate I earn from qualifying purchases.
|
||
| Num | Product | Action |
|---|---|---|
| 1 | Instant Pot Milk Frother, 4-in-1 Electric Milk Steamer, 10oz/295ml Automatic Hot and Cold Foam Maker and Milk Warmer for Latte, Cappuccinos, Macchiato, From the Makers of Instant 500W, Black |

|
| 2 | VorChef Commercial Milk Frother, 2500W 110V Automatic Steam Boiling Water Machine Electric Steam Milk Frothing Machine Espresso Coffee Milk Foam Machine Steamer with LED Display for Coffee Tea Shop |
|
| 3 | SIMPLETASTE Milk Frother, 4-in-1 Electric Milk Steamer, Automatic Warm and Cold Foam Maker and Milk Warmer for Latte, Cappuccinos, Macchiato |
|
| 4 | Zulay Powerful Milk Frother for Coffee with Upgraded Titanium Motor - Handheld Electric Whisk, Milk Foamer, Mini Mixer & Coffee Blender for Frappe, Latte, Matcha, No Stand - Silver |
|
| 5 | Milk Frother, COLDFILL 8-in-1 Milk Frother and Steamer, 400ml Large Capacity Hot & Cold Foam Milk Warmer, Frothers for Coffee with Heating Function, Quiet, Dishwasher Safe |
|
| 6 | Milk Frother, Paris Rhône 4-in-1 Milk Steamer and Frother, Hot & Cold Foam Milk Warmer with Temperature Control, Auto Shut-Off Frothers for Coffee, Latte, Cappuccino, Macchiato |
|
| 7 | SIMPLETASTE Milk Frother, 4-in-1 Electric Milk Steamer, Automatic Warm and Cold Foam Maker and Milk Warmer for Latte, Cappuccinos, Macchiato |
|
| 8 | VIPDIGI 7-IN-1 Milk Frother, 20.3 OZ Milk Frother and Steamer with Temperature Control Stainless Steel Electric Milk Frother Dishwasher Safe Hot and Cold Foam for Latte Hot Chocolate Cocoa (Black) |
|
| 9 | SIMPLETaste Milk Frother Handheld Battery Operated Electric Foam Maker, Drink Mixer with Stainless Steel Whisk and Stand for Cappuccino, Bulletproof Coffee, Latte |
|
| 10 | Zulay Kitchen Powerful Milk Frother Wand With 2 Duracell Batteries - Ultra Fast Handheld Drink Mixer - Electric Whisk Foam Maker for Coffee, Lattes, Cappuccino, Matcha, Hot Chocolate & Creamer - Black |
|
Electric Milk Frothers
Electric milk frothers are countertop appliances that often heat and froth milk simultaneously with minimal user intervention. These units typically feature an internal whisk that spins at high speed.
- Advantages: Electric frothers offer speed and consistency, producing smooth, velvety foam with ease. Many models can heat the milk to an optimal temperature while frothing, streamlining the process. They often come with multiple settings for different foam densities or hot/cold frothing, offering versatility.
- Disadvantages: They are generally more expensive than manual frothers and require a power source, limiting their portability. They also occupy counter space, which might be a consideration for smaller kitchens. Cleaning can sometimes be more involved compared to simple manual models.
- Best for: Users seeking convenience, consistent results, and those who enjoy hot frothed milk frequently without extra steps.
Automatic Milk Frothers
While often falling under the “electric” category, automatic frothers represent the more advanced end of the spectrum. These stand-alone units offer completely automated processes, often with preset programs for various drinks and superior microfoam creation. Some espresso machines also feature integrated automatic frothing systems.
- Advantages: They provide a seamless, hands-free experience, consistently creating perfect foam. Many can produce fine microfoam suitable for latte art and can handle larger volumes. They are the epitome of convenience.
- Disadvantages: Automatic frothers are typically the most expensive option and tend to be larger, requiring dedicated counter space. While convenient, they offer less control over the frothing process compared to manual methods, as settings are usually pre-determined.
- Best for: Commercial settings, serious home baristas who prioritize ultimate convenience and consistent, high-quality foam, or those who frequently prepare multiple frothy drinks.
Comparing Milk Frother Types
To help you visualize the differences, here’s a comparison of the main types of milk frothers:
| Feature | Manual Milk Frother | Electric Milk Frother | Automatic Milk Frother |
|---|---|---|---|
| Price | Low | Medium | High |
| Foam Quality | Medium to Good | Good to Very Good | Excellent |
| Speed | Slow | Fast | Very Fast |
| Convenience | Low (hands-on) | Medium to High | High (hands-free) |
| Modes/Settings | Few | Several (hot/cold, foam) | Many (preset programs) |
| Heating Milk | No (usually) | Yes | Yes |
| Portability | High | Low | Very Low |
| Size | Small to Medium | Medium | Large |
How to Choose the Right Milk Frother
Selecting the perfect milk frother involves considering your personal preferences and coffee habits. Here’s a buying guide to help you make an informed decision:
Determine Your Usage Needs
Start by thinking about the types of drinks you enjoy most. Do you primarily make cappuccinos requiring dense foam, or lattes needing silky microfoam? How often do you plan to use the frother? If it’s for an occasional treat, a manual model might suffice. For daily use, especially for multiple servings, an electric or automatic option could be more practical. Consider if you need frothed milk for both hot and cold beverages.
Set Your Budget
Milk frothers range widely in price. Manual frothers are the most budget-friendly, typically under $30. Electric models can range from $50 to $150, while high-end automatic units or those integrated into espresso machines can exceed $200. Determine how much you’re willing to invest, keeping in mind that higher prices often correlate with more features and greater convenience.
Evaluate Desired Features
Beyond basic frothing, what else do you need?
- Heating Function: If you always want hot frothed milk and prefer a single-step process, an electric frother with a heating element is essential. Manual frothers usually require you to heat milk separately.
- Foam Consistency Settings: Some electric frothers offer different settings for light, airy foam or dense, creamy microfoam, which can be useful for varied drink preferences.
- Capacity: How much frothed milk do you need at once? Manual frothers typically handle smaller batches, while some automatic models can accommodate larger volumes, ideal for serving multiple people.
Consider Brand Reputation
Choosing reputable brands known for quality kitchen appliances can provide peace of mind regarding durability and performance. While the article doesn’t list specific brands, a quick search for well-regarded kitchenware manufacturers can guide you.
Read User Reviews
Before making a final purchase, always check online reviews and customer feedback. Real-world experiences can offer valuable insights into a frother’s performance, ease of use, cleaning, and overall reliability. Look for consistent positive feedback on aspects important to you.
Characteristics of a High-Quality Manual Milk Frother
While specific product recommendations are outside the scope here, understanding what makes a good manual milk frother will empower your choice. A quality manual frother should feature durable construction, ideally made from stainless steel, which is robust, easy to clean, and resists odors. The plunger mechanism should operate smoothly and efficiently, creating consistent air circulation with minimal effort. Look for a comfortable handle and a snug-fitting lid to prevent spills. The mesh whisk should be finely designed to produce small, consistent bubbles for a smoother texture. Consider models with clear measurement markings for ease of use. A double-mesh screen can often produce finer, richer foam more quickly than a single mesh.
Tips for Using and Maintaining Your Manual Milk Frother
Mastering your manual milk frother takes a little practice, but the results are incredibly rewarding.
How to Use Your Manual Milk Frother for Perfect Foam
- Start with Cold Milk: Always use cold milk, ideally straight from the refrigerator. Cold milk provides more time for aeration before it warms up and the proteins break down, leading to a more stable foam. Whole milk tends to froth best due to its fat content, but plant-based milks like oat or almond can also yield good results.
- Heat If Desired: For hot drinks, gently heat your milk on the stovetop or in the microwave to about 140-155°F (60-68°C) before frothing. Avoid boiling the milk, as this can negatively impact frothing and flavor.
- Fill Appropriately: Pour milk into your manual frother, typically filling it no more than one-third to one-half full. Milk significantly expands when frothed, so leaving ample space is crucial to avoid overflow.
- Pump Vigorously: Secure the lid with the plunger in place. Hold the frother firmly and pump the plunger up and down rapidly and consistently for about 30-60 seconds. You’ll feel the milk thickening and increasing in volume. Adjust the speed and depth of the plunger to control the air incorporation.
- Refine the Foam: Once the milk has doubled in volume and reached your desired consistency, remove the plunger. Gently tap the frother on a flat surface a few times to release any large air bubbles. Swirl the frothed milk gently to achieve a smooth, uniform texture, often called microfoam, before pouring.
Cleaning and Maintenance
Proper cleaning is essential to extend the lifespan of your manual milk frother and ensure hygienic use.
- Immediate Rinse: After each use, rinse the frother pitcher and plunger immediately with warm water to prevent milk residue from drying and hardening.
- Gentle Cleaning: Wash both components with a mild dish soap and a soft brush or sponge. For stubborn residue, soak in warm, soapy water for a few minutes.
- Avoid Abrasives: Do not use abrasive scrubbers or harsh chemicals, which can scratch or damage the frother’s surface.
- Dishwasher Safety: Check the manufacturer’s instructions. While many stainless steel pitchers are dishwasher safe, the plunger mechanism might not be. Handwashing is generally recommended for the plunger to protect its moving parts and mesh screen.
- Thorough Drying: Ensure all parts are completely dry before reassembling and storing to prevent water spots or mildew.
Common Issues and Troubleshooting
- No Foam/Weak Foam: Ensure your milk is cold (if frothing cold) or at the right temperature (if pre-heating). Experiment with different types of milk; whole dairy milk usually froths best. Ensure you are pumping vigorously and consistently.
- Too Many Large Bubbles: Tap the frother gently on the counter and swirl the milk after frothing to incorporate larger bubbles into a finer microfoam. You might be incorporating too much air too quickly initially; try a slightly slower, more controlled pumping motion.
- Milk Overflow: You’ve likely overfilled the frother. Remember the “one-third to one-half full” rule to allow for expansion.
Delicious Drink Recipes with Your Manual Milk Frother
Your manual milk frother opens up a world of delightful beverages. Here are a few popular recipes to get you started:
- Classic Cappuccino: Brew a shot of strong espresso. Froth 4-6 oz of milk until it’s about doubled in volume with a thick, airy foam. Pour the frothed milk over the espresso, holding back the foam slightly with a spoon, then spoon the remaining foam on top.
- Creamy Latte: Brew a shot of espresso. Froth 6-8 oz of milk to a silky, less airy consistency (microfoam). Pour the frothed milk into the espresso in a smooth, continuous motion, aiming for a thin layer of foam on top.
- Indulgent Hot Chocolate: Prepare your favorite hot chocolate base. Froth cold milk and add it on top for a luxurious, creamy finish, or froth warm milk directly for a richer, more uniform texture.
- Vanilla Bean Macchiato: Brew a shot of espresso. Add a dash of vanilla syrup. Froth a small amount of milk to a dense foam. Spoon the frothed milk directly onto the espresso, creating distinct layers.
- Iced Coffee with Foam: Brew and chill your coffee. Add ice and a sweetener if desired. Froth cold milk until light and airy, then spoon it over your iced coffee for a refreshing twist.
Conclusion
The manual milk frother, though simple in design, is a powerful tool for anyone passionate about crafting exquisite coffee and milk-based beverages at home. It empowers you with hands-on control, offers unmatched portability, and proves to be a budget-friendly way to achieve café-quality foam. While it requires a bit more effort and technique than its electric counterparts, the satisfaction of creating perfect microfoam with your own hands is truly rewarding. By understanding its benefits, comparing it with other types, and following proper usage and maintenance tips, you can transform your daily coffee routine into an art form. So, which delicious frothed creation will you whip up first with your trusty manual milk frother?
Frequently Asked Questions
Can a manual milk frother make cold foam?
Yes, manual milk frothers are excellent for making cold foam. Simply use cold milk and froth it until it reaches your desired consistency. No heating is involved, making it perfect for iced coffees and cold beverages.
What kind of milk works best with a manual frother?
Whole dairy milk typically produces the richest, most stable foam due to its fat and protein content. However, many plant-based milks like oat milk (barista blend), almond milk, and soy milk can also froth well, though results may vary.
How long does it take to froth milk manually?
With consistent and vigorous pumping, you can usually achieve your desired foam consistency in about 30 to 60 seconds. The exact time depends on the amount of milk, your technique, and the type of foam you aim for.
Do manual milk frothers heat the milk?
No, manual milk frothers do not have a built-in heating element. If you want hot frothed milk for a latte or cappuccino, you will need to heat the milk separately on a stovetop or in a microwave before you begin the frothing process.
Is it hard to clean a manual milk frother?
Generally, manual milk frothers are very easy to clean. Their simple design, often consisting of a pitcher and a plunger, allows for quick rinsing and washing with soap and water immediately after use, preventing milk residue from drying.
Can I make latte art with a manual milk frother?
Achieving intricate latte art with a manual milk frother requires practice to produce consistently fine, silky microfoam. While possible, it can be more challenging than with a professional steam wand or high-end electric frother designed for this purpose.
